
When I was a little girl, my mom used to bake egg shaped cupcakes for my siblings and I for our Easter baskets. She had an egg shaped cupcake pan and she would bake little white cakes with yellow centers so that it actually looked like an egg. She would frost them with chocolate icing and pipe each of our names on them in pastel pink so it always looked like a big chocolate egg! Next to the chocolate bunnies, jelly beans, and cadbury eggs, these little cakes were one of my favorite parts of our baskets! However, at some point, she stopped making them. So long ago, that I am almost certain my youngest brother probably wouldn’t even remember them.
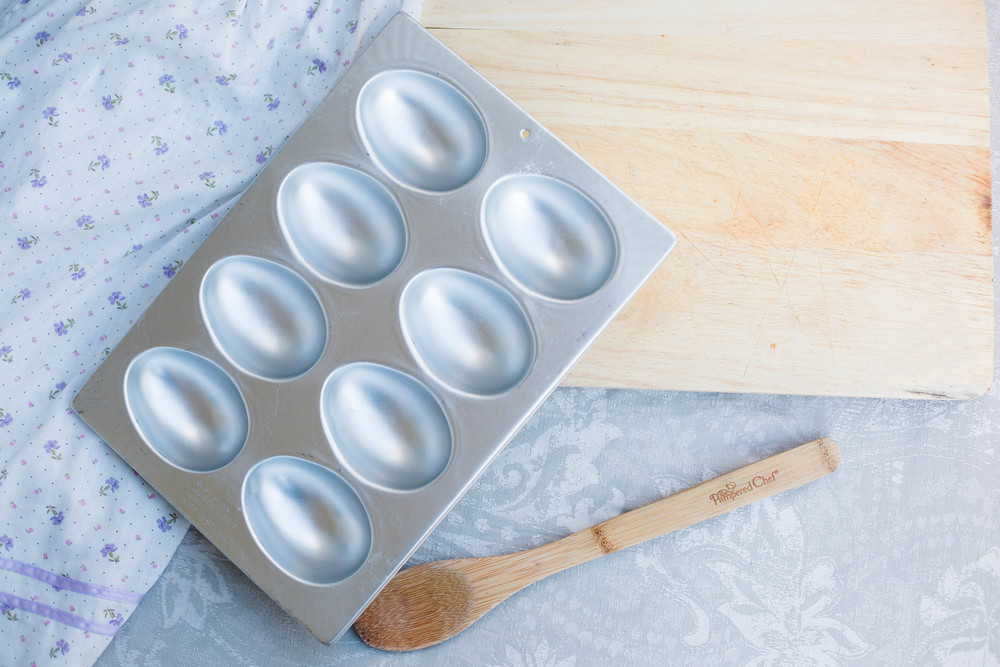
Ever since I got married, I have faithfully made an Easter basket for Eli. Not because he asks for one or expects it, but because I enjoy making it for him. And every year, I’ve wanted to bake him a little egg cake like my mom used to make. The only problem was that I didn’t have the cake pan. I had seen silicone ones at craft stores, but they weren’t the same shape as my mom’s and I wanted to get the same one. I used to search on ebay and would always look for one at thrift stores. So imagine how excited I was when I finally found one last summer! I told Eli that next Easter I would be making those egg cakes! So, on account of my love for baking and how much I enjoyed sharing my cheesecake recipe last November, I wanted to share this recipe with you! Especially if you are looking for the perfect treat to make for Easter! And if you aren’t lucky enough to find a vintage metal cake pan at a thrift store, I would recommend this silicone one from Amazon.
My mom more than likely used a cake mix and store bought frosting, which quite frankly I don’t mind, but for this post and this years Easter, I wanted to bake these cakes from scratch! The cake recipe is modified from Martha Stewart and cut down since I am not baking a triple layer cake. And I wanted to make the frosting from one of her recipes as well. There is even a video of her baking a chocolate cake and making this frosting on her website if you want to check that out here. However, the recipe did not come together as well for me as it did for miss Martha, so I had to take a defeated trip to the grocery store and buy some frosting in a tub. I decided to give myself some grace and cut my losses 🙂
White Cake Batter (Should be enough for 15 egg cakes or 20 cupcakes)
Ingredients:
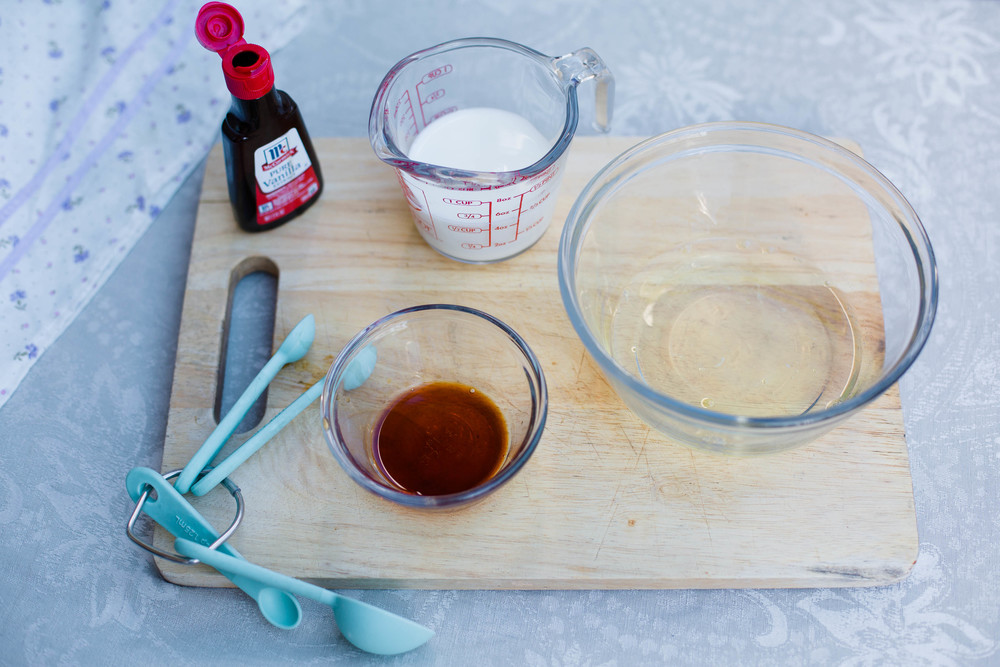
- ½ Cup Milk
- 3 Eggs Whites
- 1 ⅙ Teaspoon Vanilla Extract
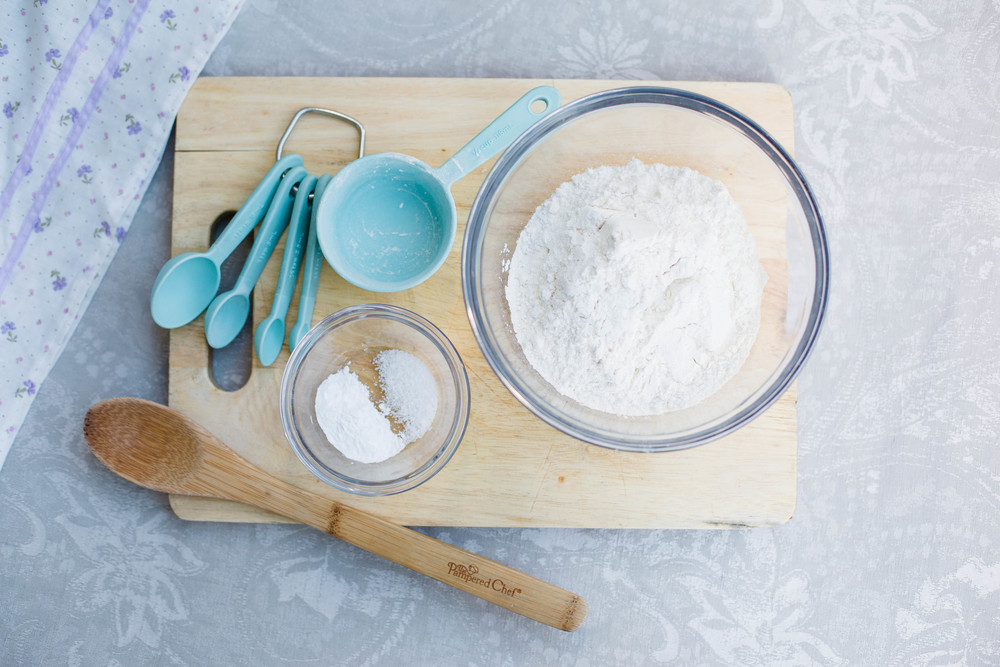
- 1 ½ Cup Flour
- 2 Teaspoons Baking Powder
- ½ Teaspoon Salt
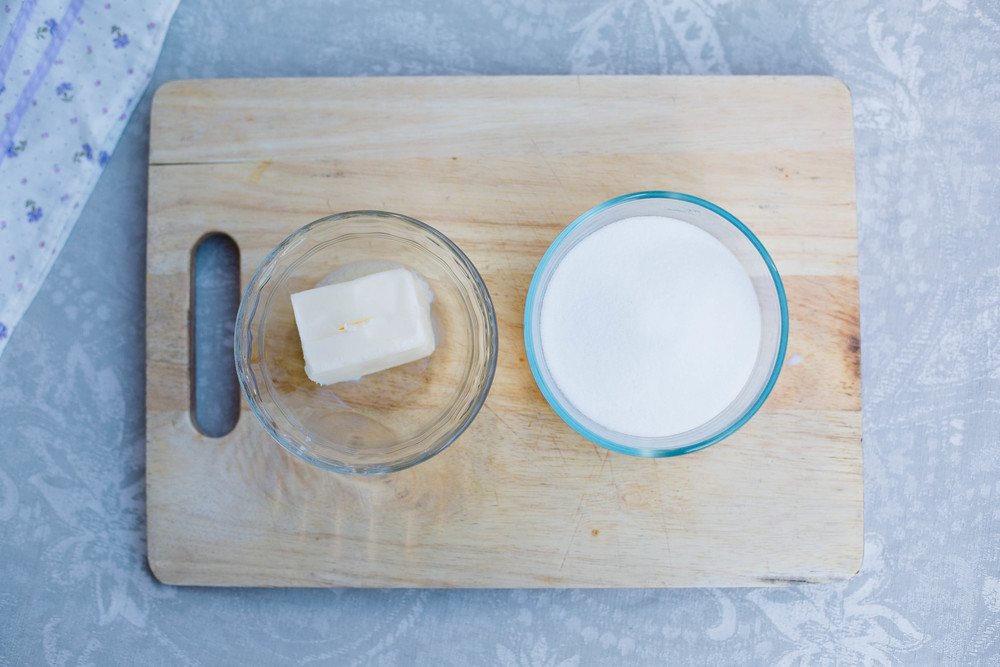
- 6 Tablespoons Butter, room temperature plus more for pans
- ¾ Cup Sugar
- Yellow Food Coloring
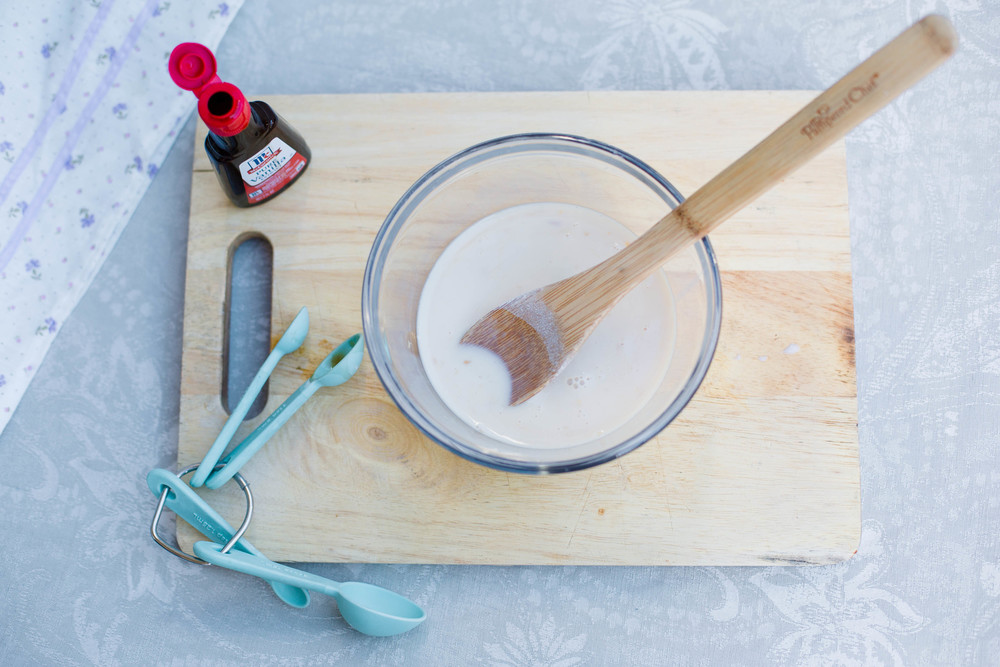
Preheat your oven to 350 degrees. Mix the milk, egg whites and vanilla in a bowl until combined.
In a separate bowl (I love these glass mixing bowls), mix the flour, baking powder and salt. Put both bowls aside.
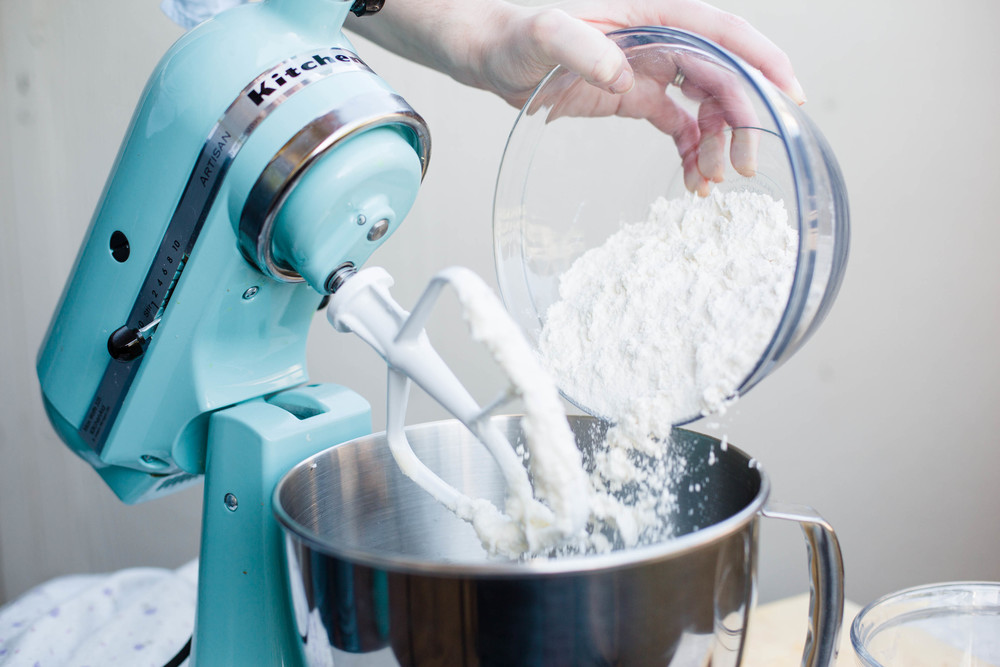
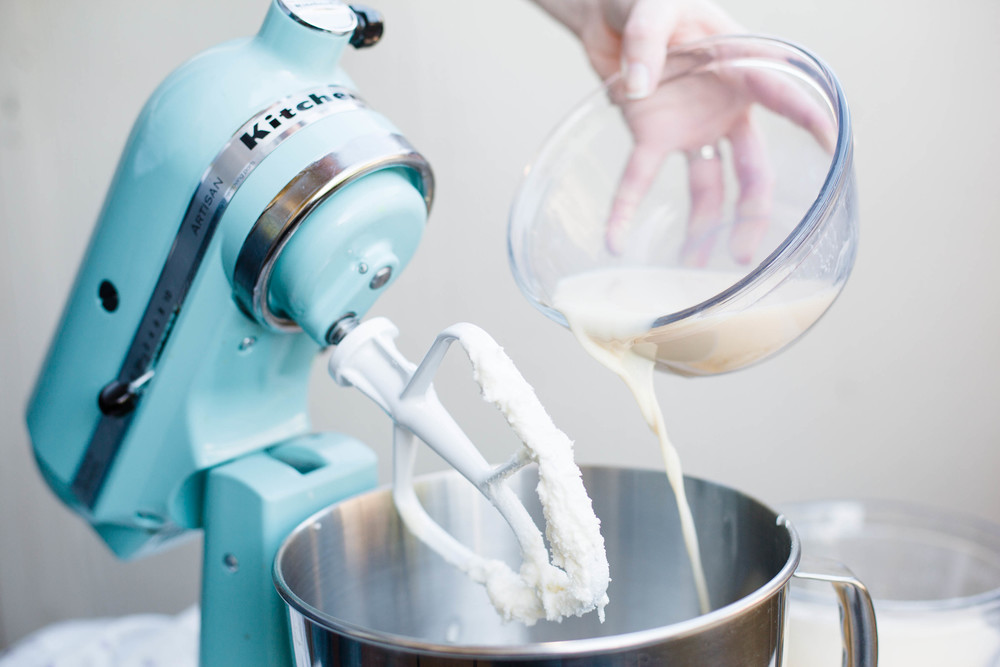
In another bowl with a hand mixer or your KitchenAid Stand Mixer bowl with the paddle attachment, beat the butter until smooth and then slowing add the sugar.
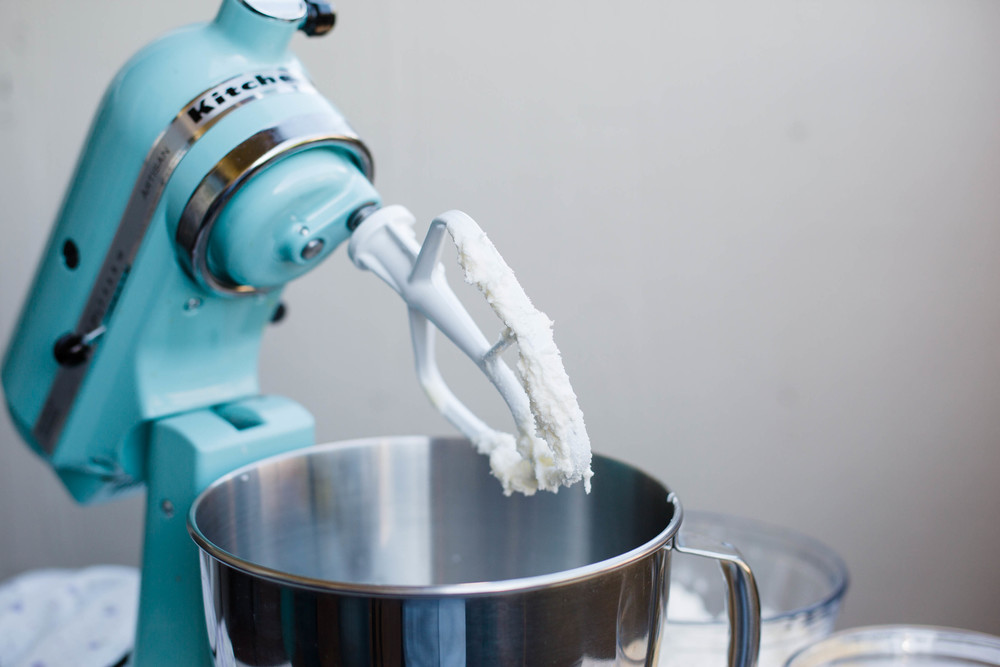
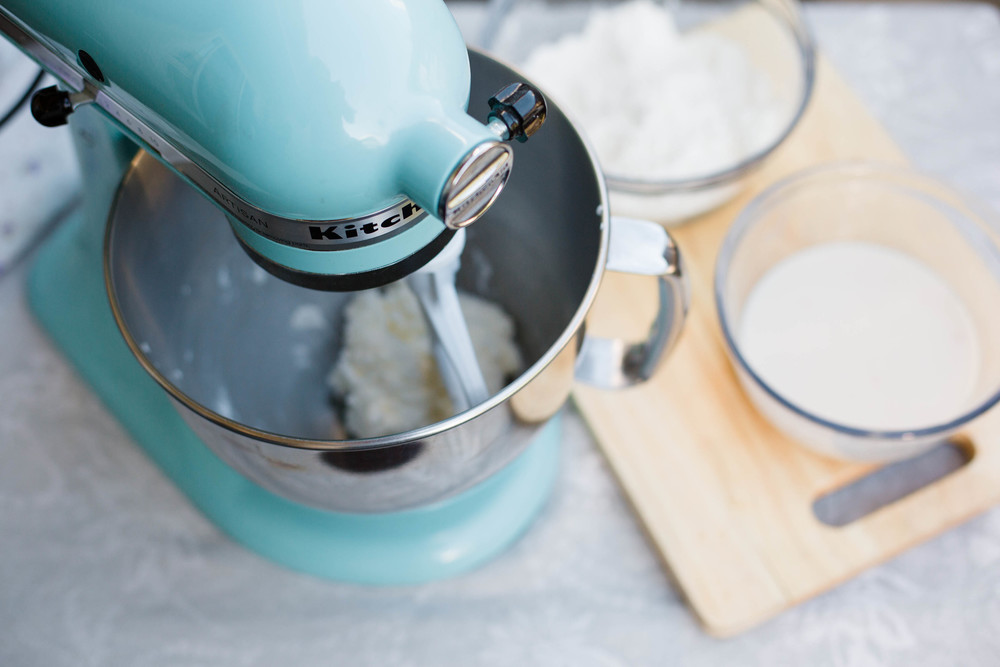
Keep mixing until it’s light and fluffy, about 2 minutes. Then slowly add a third of the flour and a third of the milk mixtures and beat until incorporated. Add another third of both mixtures and beat. Then add the rest of both mixtures and beat until smooth. Be sure to scrape the sides of the bowl in-between mixing.
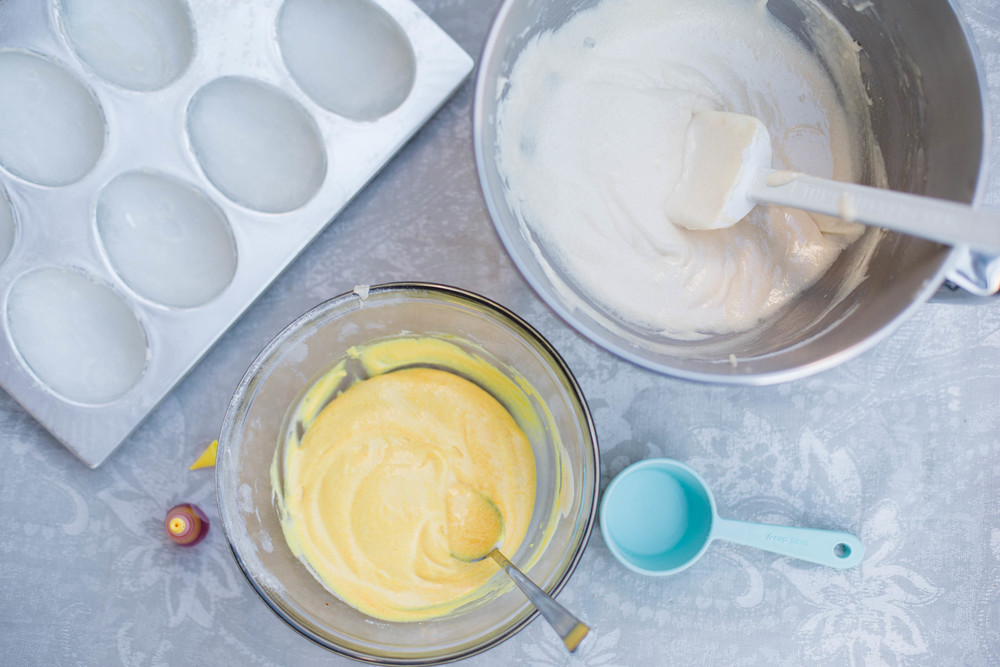
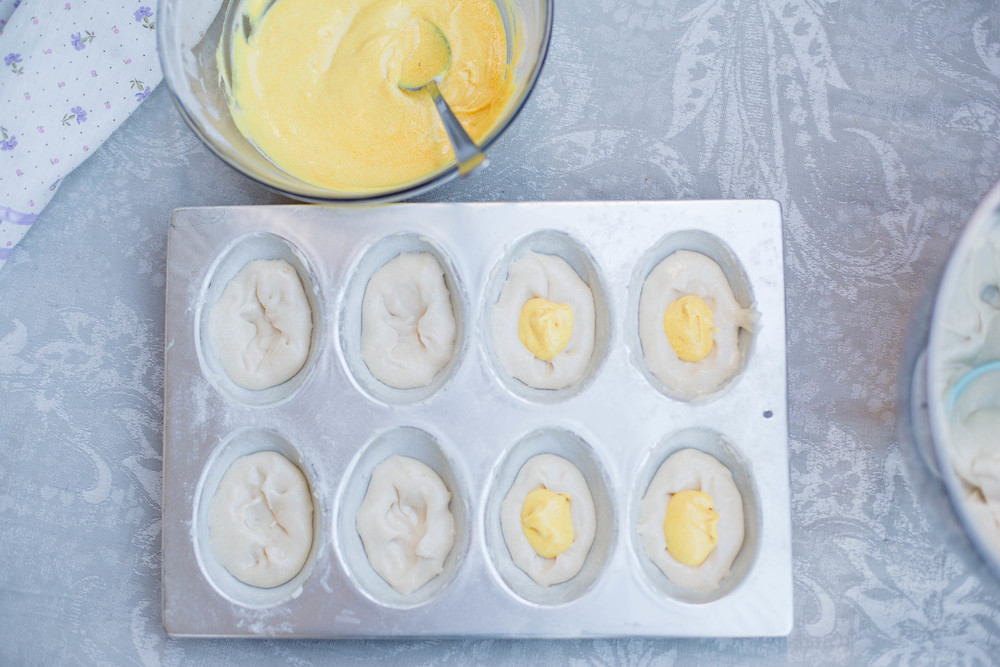
After the batter is done, put 1 ¼ cups into a separate bowl (I used the flour mixture bowl to dirty less dishes) and add 2-3 drops of yellow food coloring or enough until you get a rich egg-yolk colored batter.
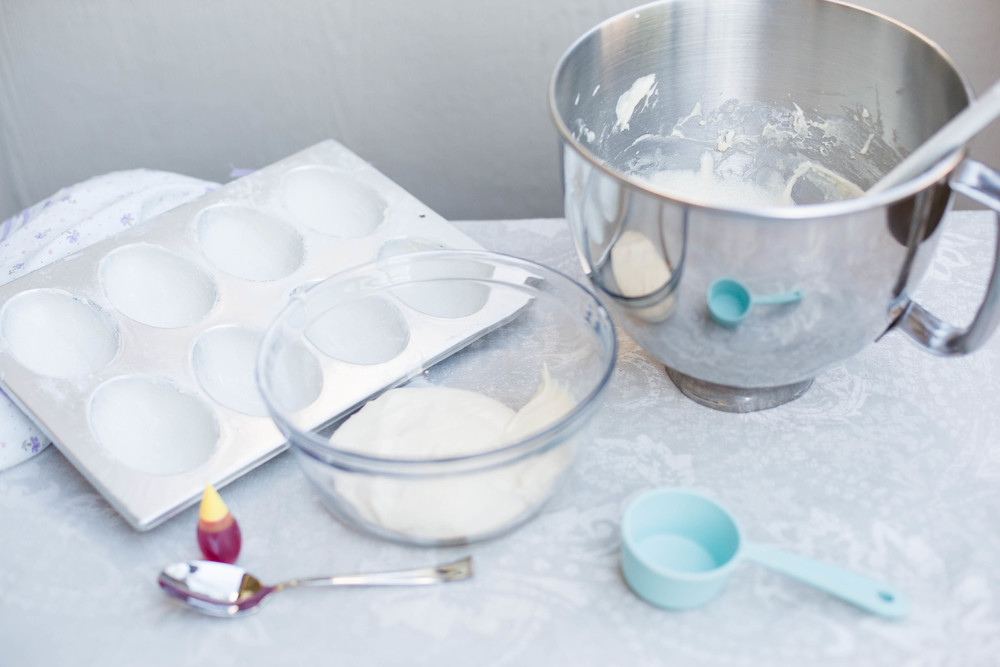
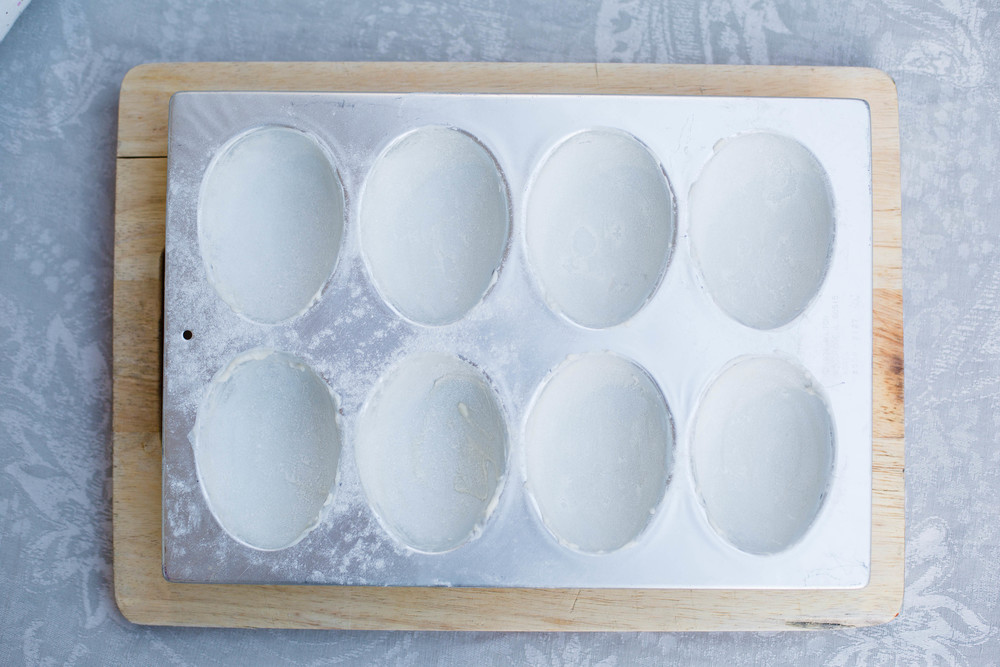
Butter your pans and dust with flour so the cakes release from the pans easily.
Fill each egg about ⅓ full with the white cake batter and then put a tablespoon of the yellow cake batter in the middle of each one to create the “yolk” of the egg cake.
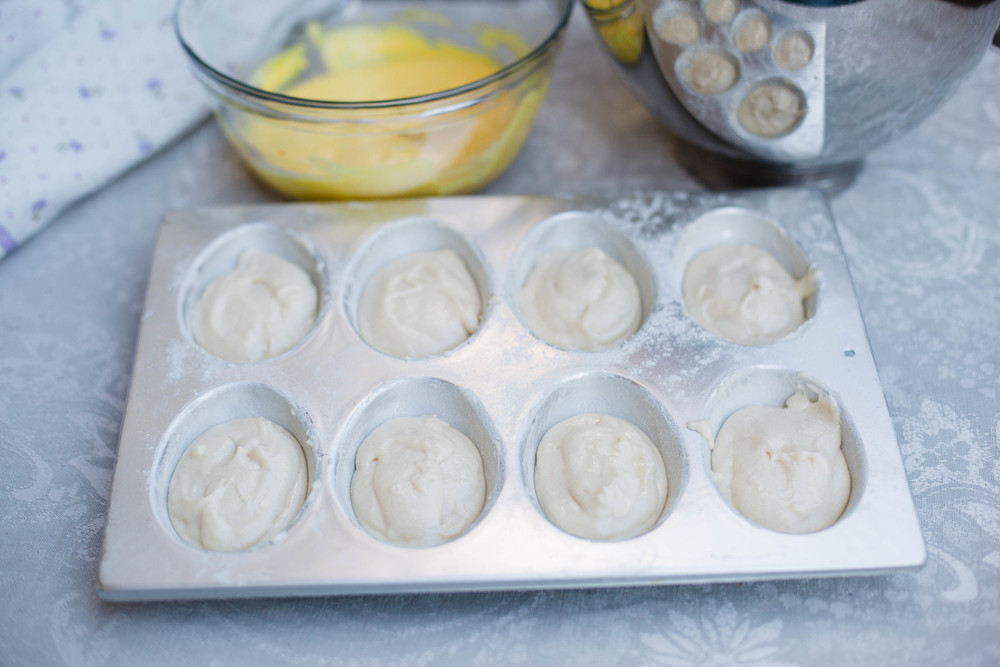
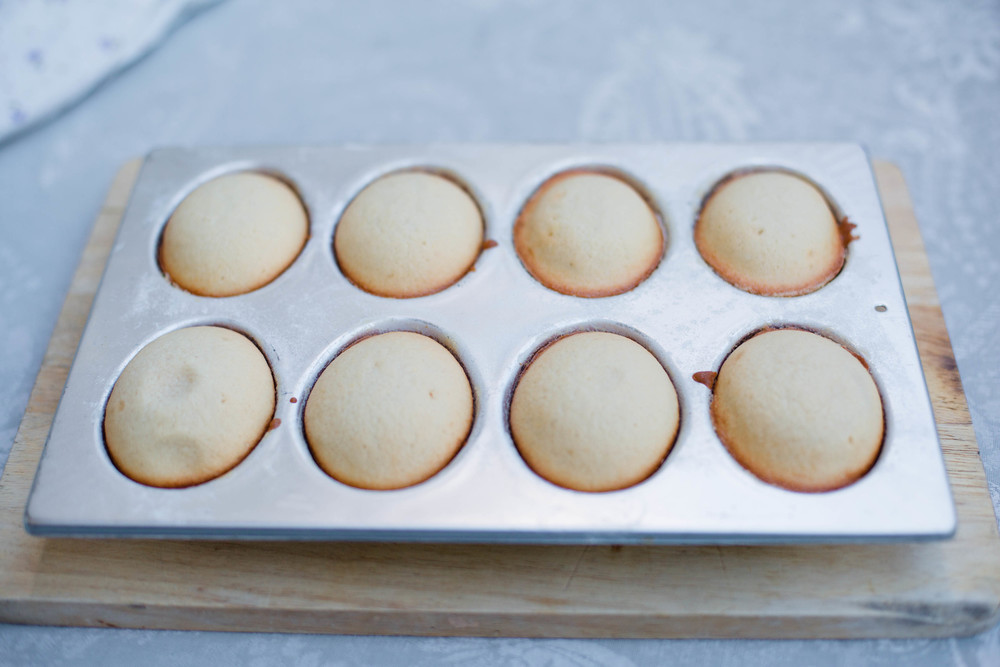
Top with additional batter to cover the yellow. Bake for 15-18 minutes until the tops are fluffy and golden.
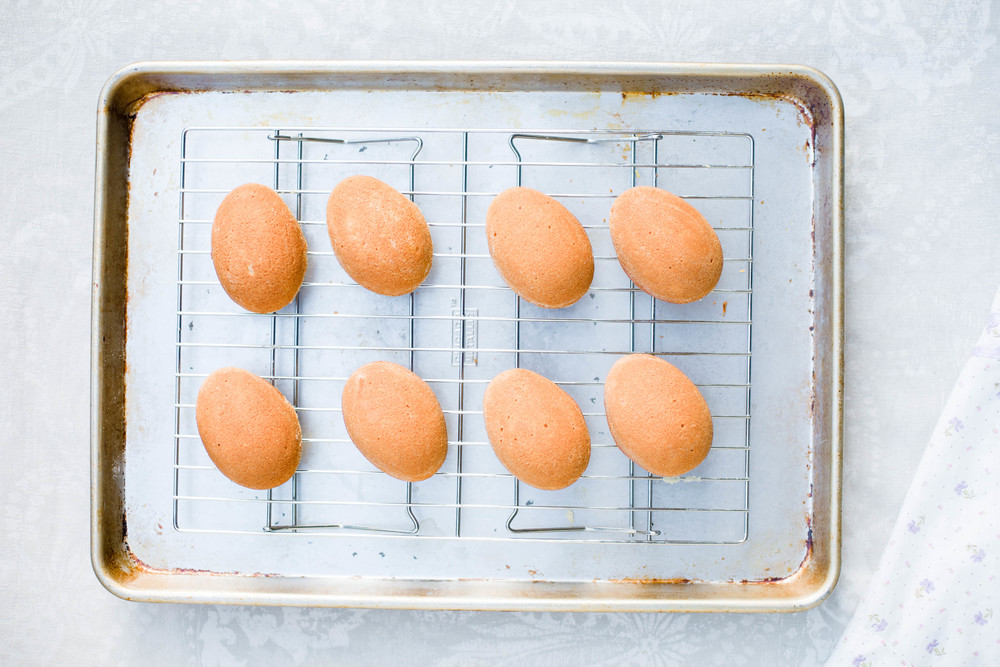
Let cool for a few minutes and then turn cakes out of the pan on a cooling rack.
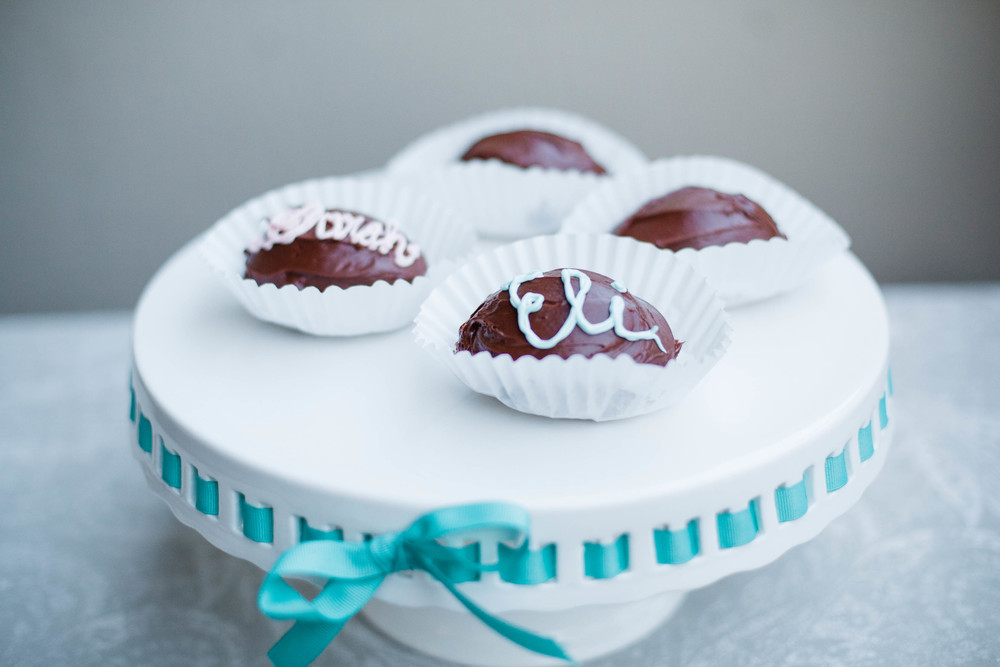
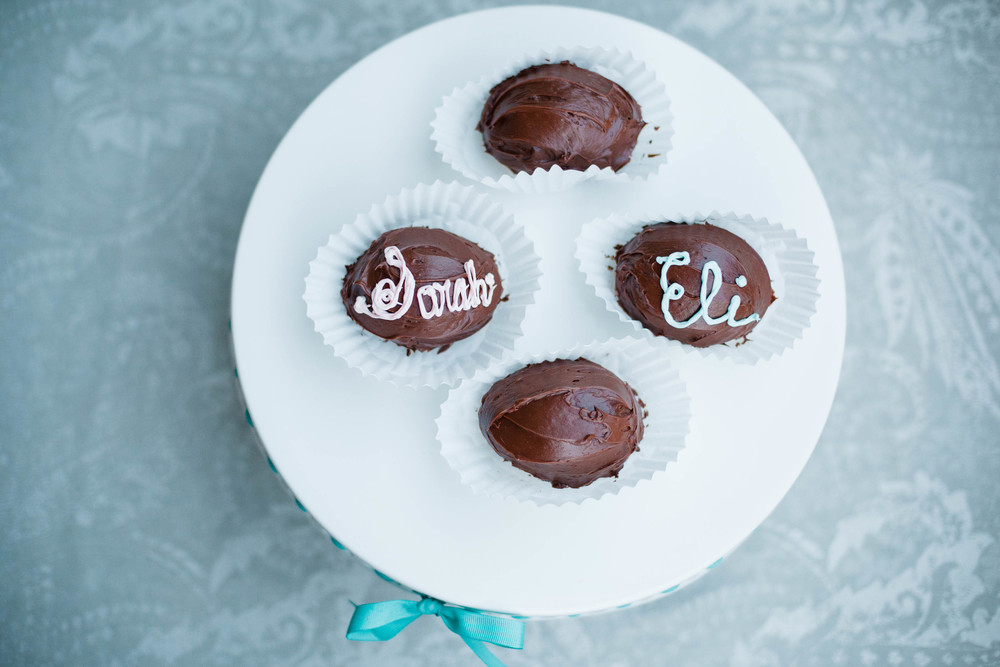
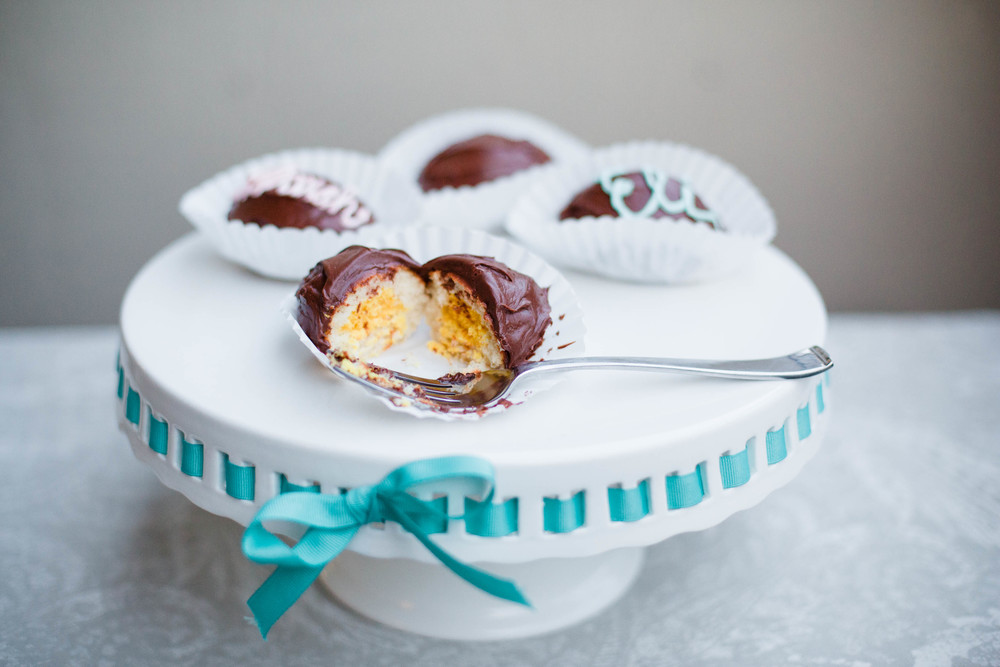
Once cooled, frost with chocolate frosting. For the finishing touches, I’m going to cheat a little and use some Betty Crocker vanilla frosting, but if you want to make a buttercream frosting for this part, go ahead! I’m going to add a little red food coloring to make a pastel pink icing because that is how I remember my mom making them 🙂 Next, put your icing in a piping bag with a writing tip. If you don’t have a piping bag, you can use a plastic baggie and cut a tiny hole in the corner to make your own. Next, write the names of your recipient on the top of the chocolate eggs. My mom always wrote each of our names on ours and it was just an added touch to our Easter baskets! If you have boys, you could always make a blue or green icing. I decided to make Eli’s in blue! You could also make a coupe colors and pipe little flowers on them as well.
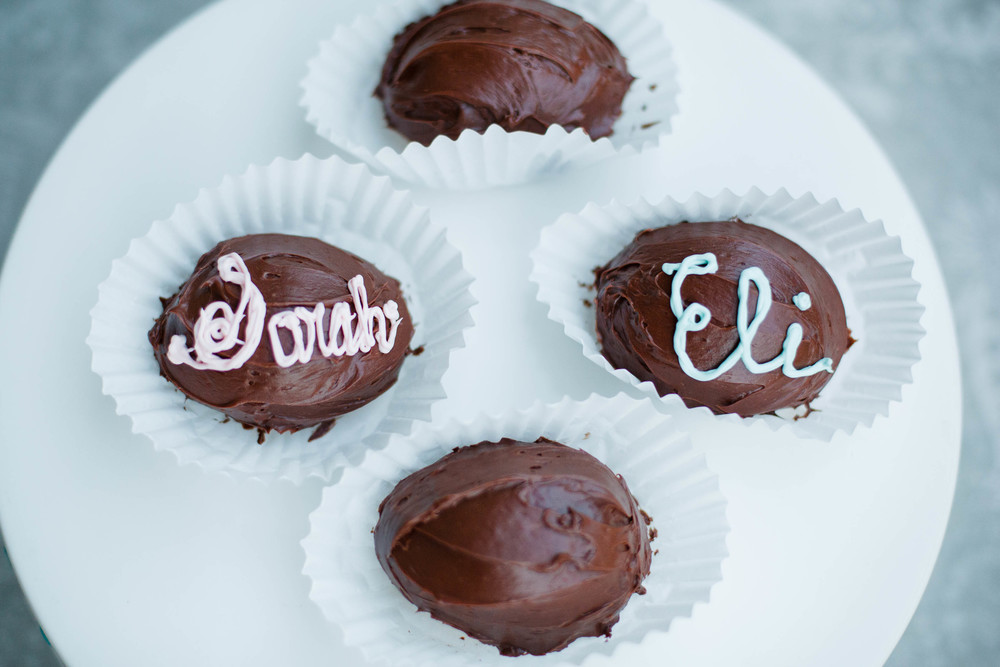
I didn’t realize that it had been so long since I wrote letters in frosting and even though the writing is a little wobbly, I really like how they turned out! There is a homemade with love, quality to them. And besides, no one will be looking at them too long 😉
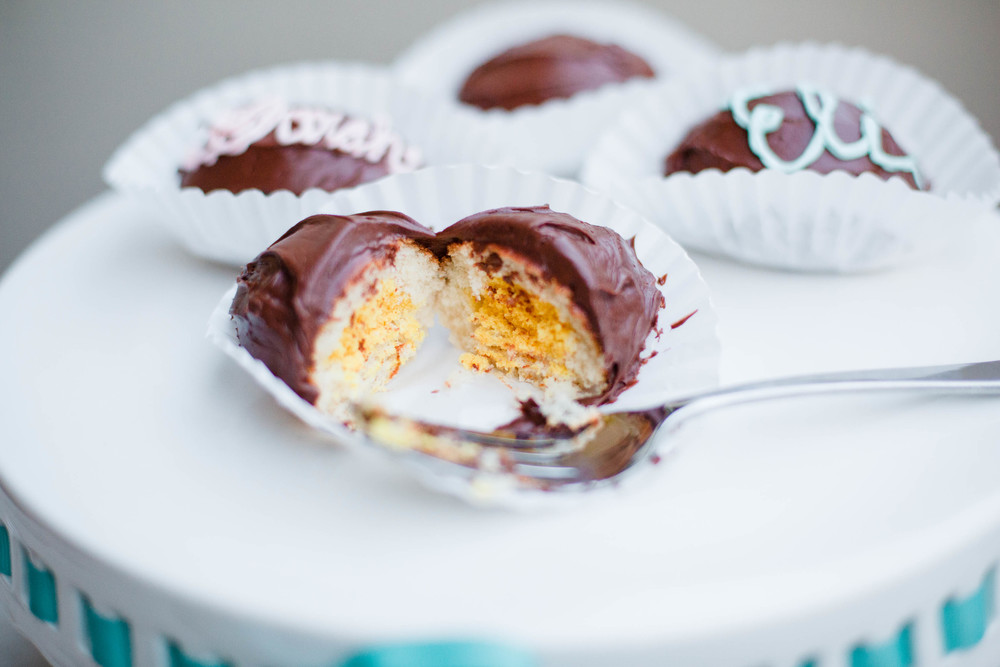
The insides do look like an actual egg but it tastes like a cupcake! Looking back, I think that in the future, I will go the easy route with a cake mix because there is so much involved with the assembly of the cakes. I also dyed too much batter yellow, so I ended up having to bake a few yellow eggs. All in all, this was a fun recipe to try to recreate and I am so glad that I have the cake pans to make these adorable Easter Egg Cakes for many years to come!
Thanks for letting me share this nostalgic, baking post with you! What are some of your favorite Easter traditions and goodies?? Happy Easter Everyone!!
Are you getting married?? If so, here are some other posts you might enjoy:
- Make The Most Of Your Wedding Day
- How To Organize Family Formals On Your Wedding Day
- Why To Hire A Wedding Planner
- How To De-Stress Before Your Wedding
- How To Choose A Wedding Photographer
If you need help with planning your engagement session or are wanting more information from a Sacramento California, Bozeman Montana, and Destination wedding photographer and want info on my photography services, click here.
Let’s be friends!
Hi! I’m Sarah! Destination Wedding Photographer and Disney lover. Follow along for more tips about wedding photography and getting the photos you’ve always dreamed of. And click here to get my Free Engagement Session Guide to get the most out of your Engagement Session.
If you are looking for a wedding photographer, I would love to chat! Click here to inquire about my services!
You can also find me on social media!
Let’s be friends on Instagram @sarahschweyerphotography
Follow me on Facebook
See what I’m pinning on Pinterest
*******This post contains affiliate links. If you should using them, I earn a very small commision on your purchase.*********


