
If you have been following my blog for awhile or if you know me at all, you would know that Fall is my favorite! Last year I started my Fall series (check out those posts here, here, and here) and I had so much fun with it that I decided to bring it back this year. I am always looking for ways to decorate my home for the season, so I thought I would share this DIY Mesh Ribbon Wreath with all of you!
Last month, my best friend Lisa posted a photo of a mesh wreath she had made for Halloween with handpainted Jack Skellington head ornaments and I knew I needed to make a fall wreath for myself. Luckily she was willing to help me make one and to share how to make one with all of you! As much as I love The Nightmare Before Christmas, I knew I wanted to have one be more autumn colored but with a tiny nod to Halloween 😉

What you will need:
- a wire wreath frame
- 2 complimentary colored rolls of mesh ribbon
- pipe cleaners in similar colors
- 1, 2, and 3 inch wired ribbons
- Jewelry wire
- decorations
Tools you will need:
- scissors
- wire cutters
- hot glue gun
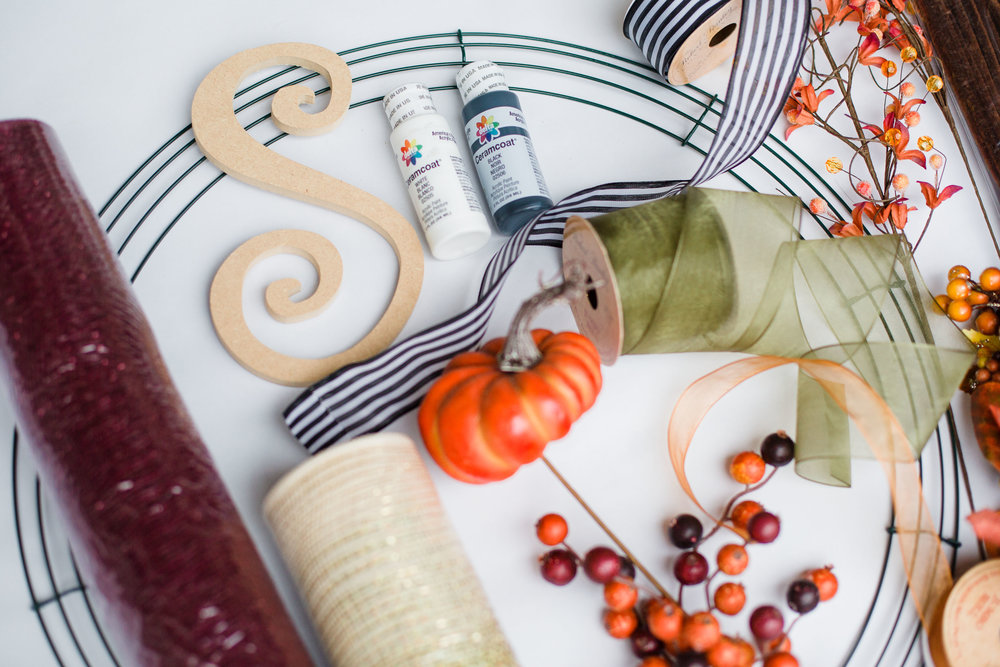
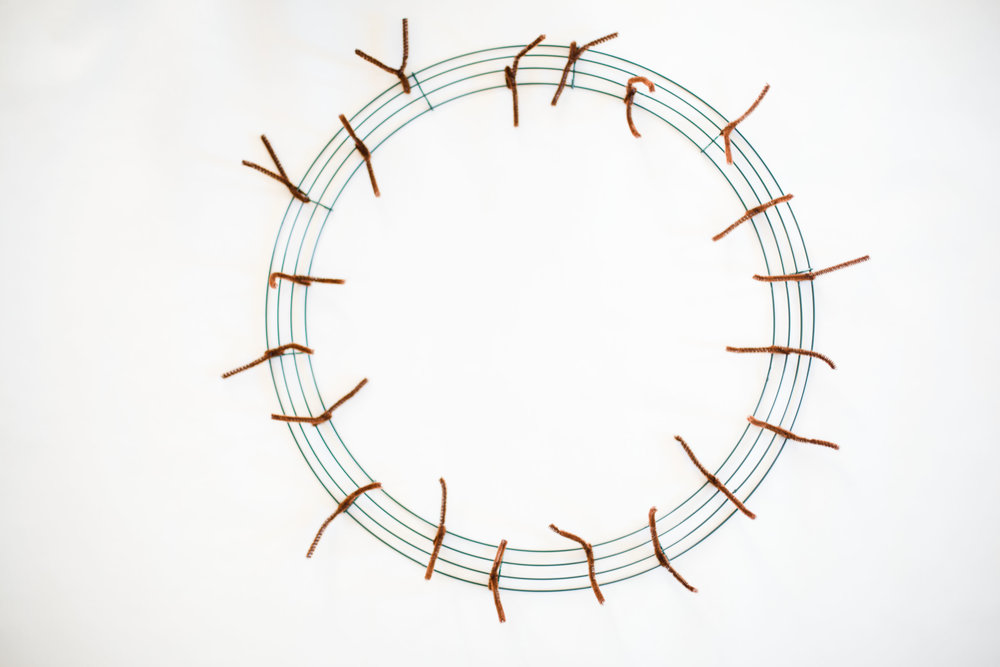
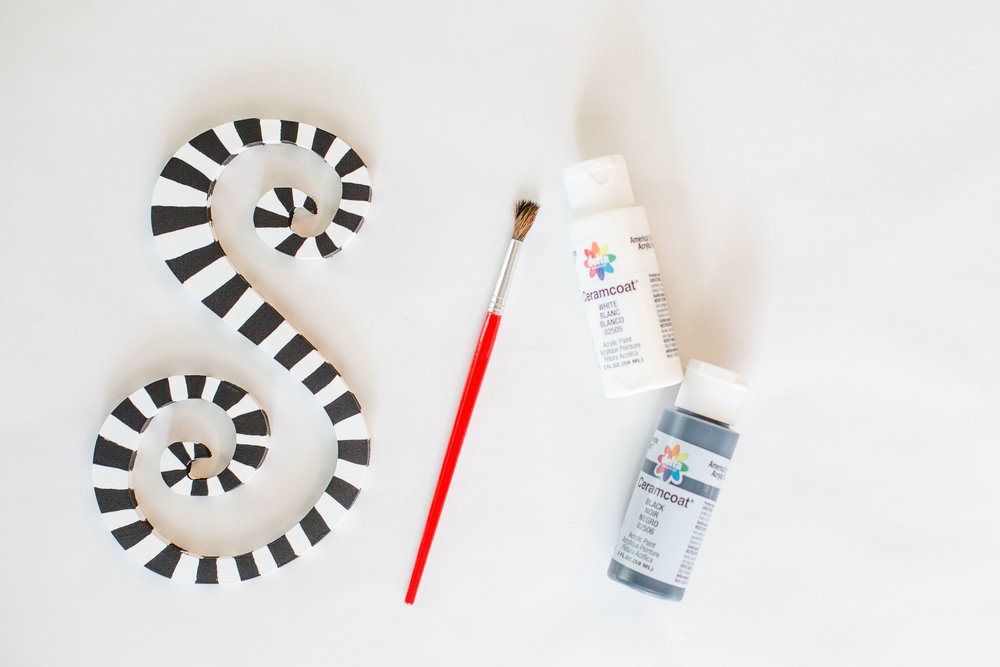
We got all of our materials at Hobby Lobby except for the black and white paints were from the dollar section at Target! The first thing you need to do is take 10 pieces (or however many posts there are on your frame) of pipe cleaner and cut them in half. Take 10 of your smaller pieces of pipe cleaner and attach them to the outer 2 rings of the frame at each of the posts. Then take the remainder pieces of pipe cleaner and tie them to the inner 2 rings inbetween each posts.
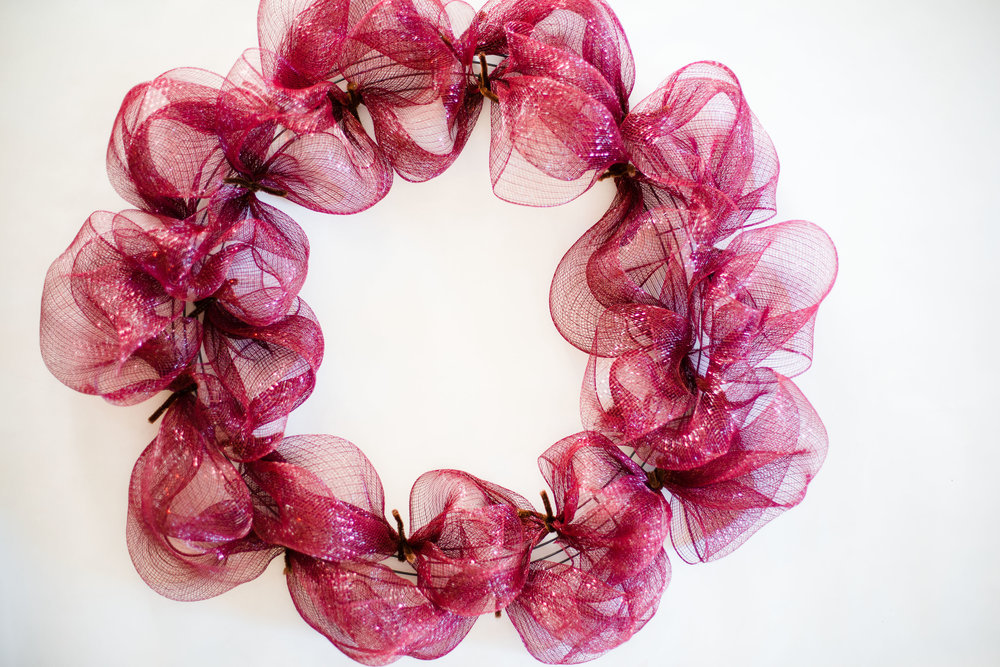
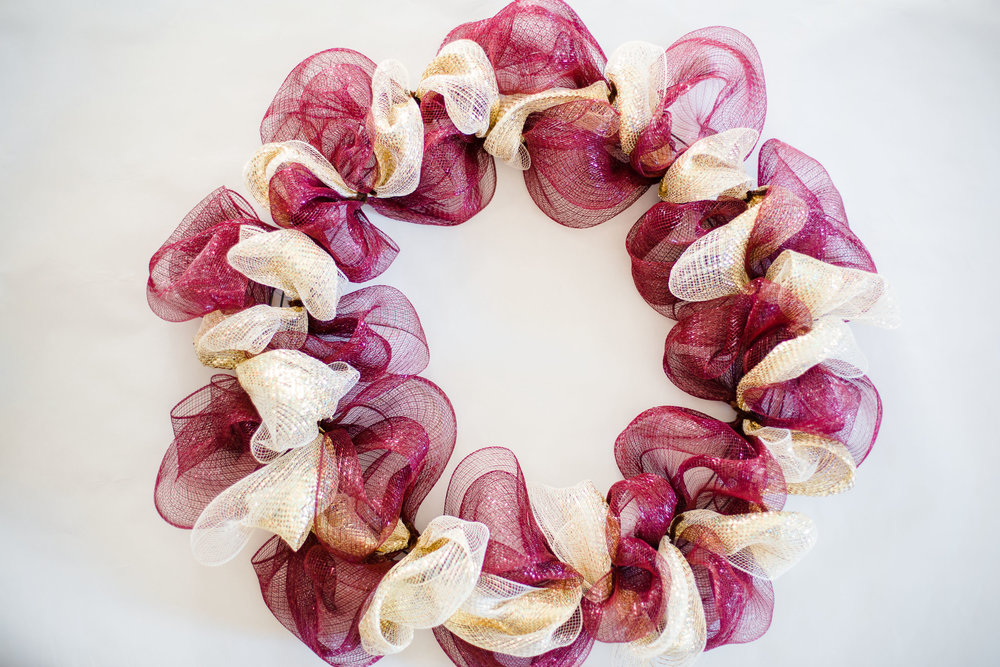
Next, take your bigger role of mesh and tie it to the frame with one of the outter pieces of secured pipe cleaner. Take about 8 inches of material and then secure it to the next outer piece of pipe cleaner. Once you get all the way around the outer ring, continue securing it down on all the inner pieces of pipe cleaner. Make sure to fluff out the mesh as you go to get that puffy, full look.
Then take the smaller roll of mess and secure it the same way but diagonally around the wreath by securing at every pipe cleaner.
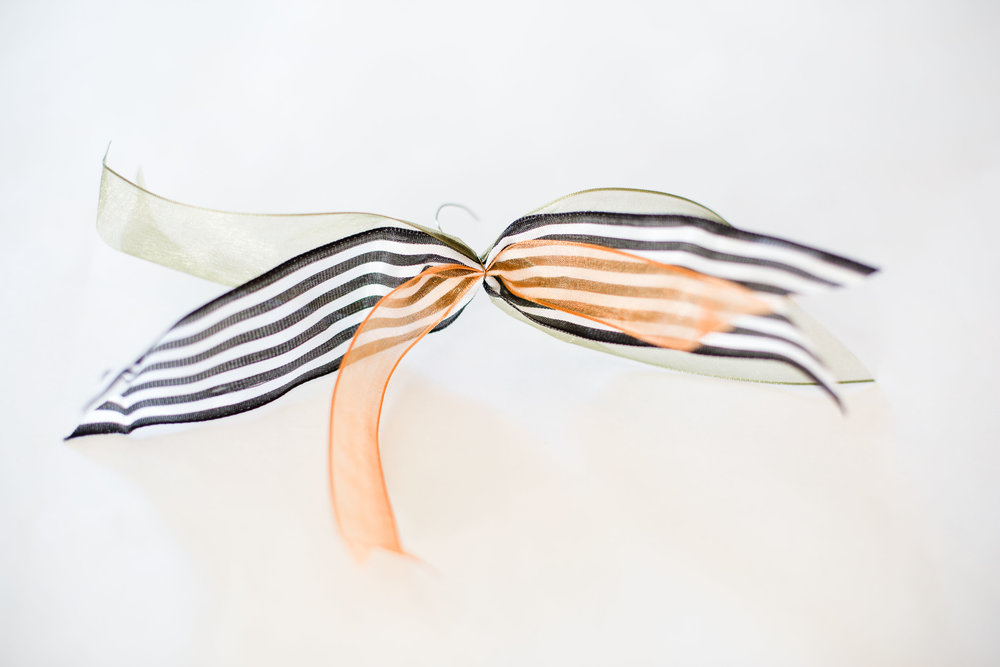
I decided to have 2 fall colored ribbons and one more decorative ribbon to add a little fun. Cut about 8 inch strips of each ribbon and layer them together. With an 8 inch piece of jewelery ribbon, tie the ribbons together.
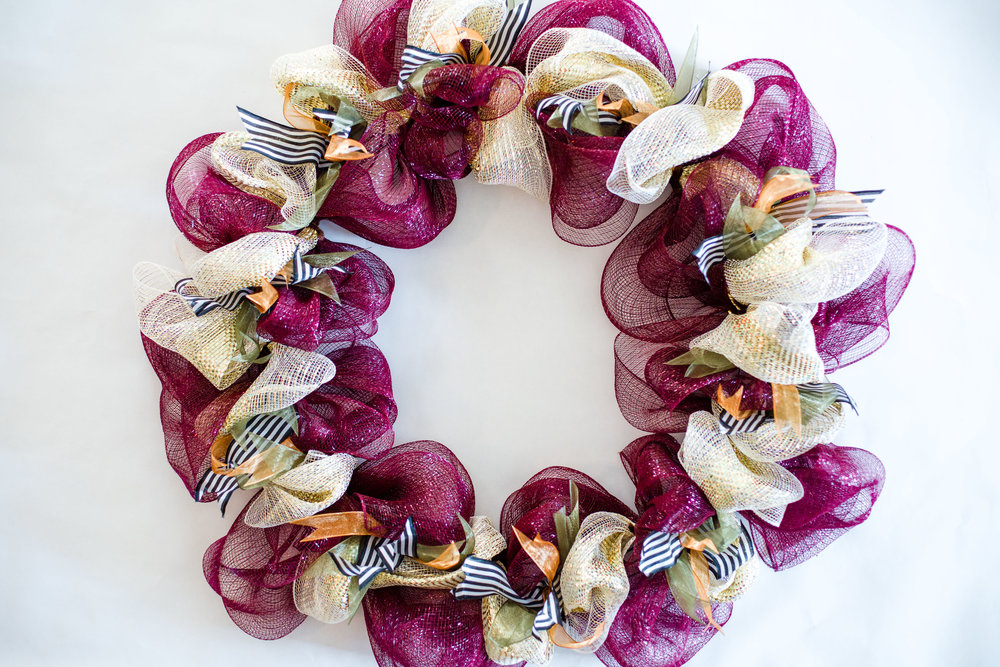
Take the 10 ribbon pieces and attach each one to the center of each of the 10 posts of the frame.
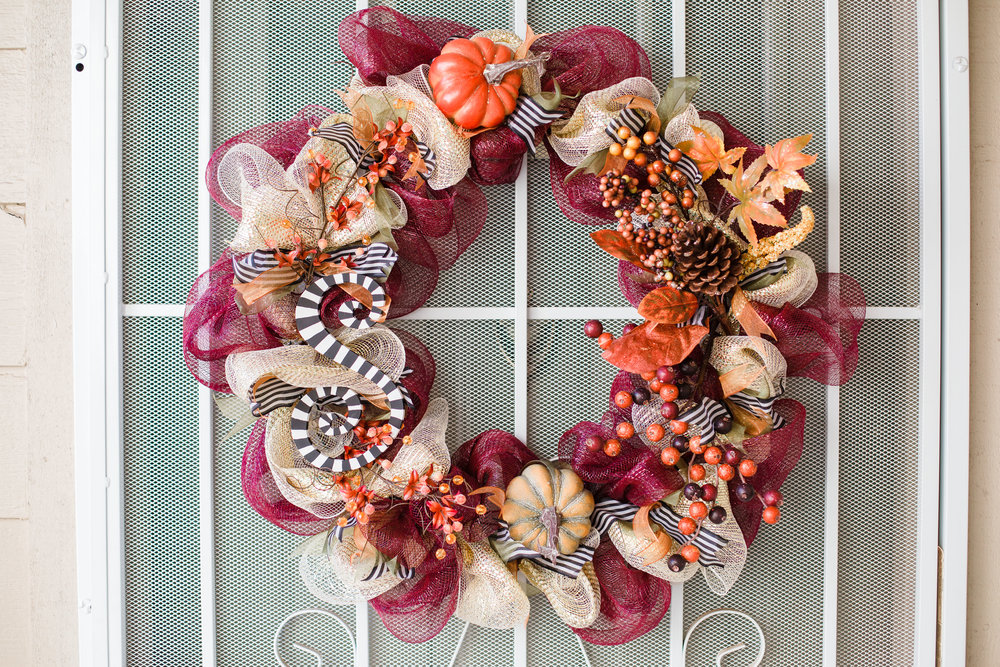
Lastly, attach your decoration pieces on top of the ribbons. I played around with each of the pieces that I had until I liked how they looked before I attached them. After I was happy with how it looked, I snapped a quick iPhone shot to help me remember. Then using more jewelry wire, attach the pieces to the wire frame.
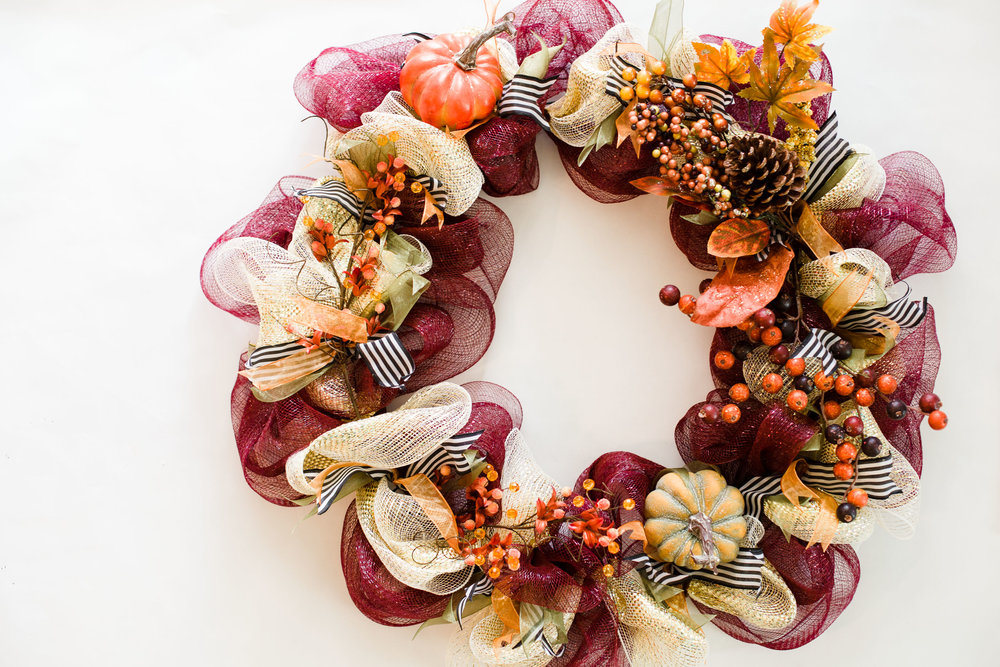
I choose pumpkins that reminded me of Cinderella, glittery leaves, and jeweled berries to give it a whimiscal/magical look, because duh 😉 I also decided to add an initial to personalize it a bit. I tell my husband the S is for Schweyer, but it’s really for me 😉 I decided to paint it black and white because I have always loved the black and white patterns during Halloween. I chose the striped pattern because it reminded me of The Nightmare Before Christmas. I painted the whole S white and then added my black stripes. I love it because it adds a little something extra!
I attached the S by hot gluing 2 pieces of jewelry wire to the back and tied it to the frame as well.
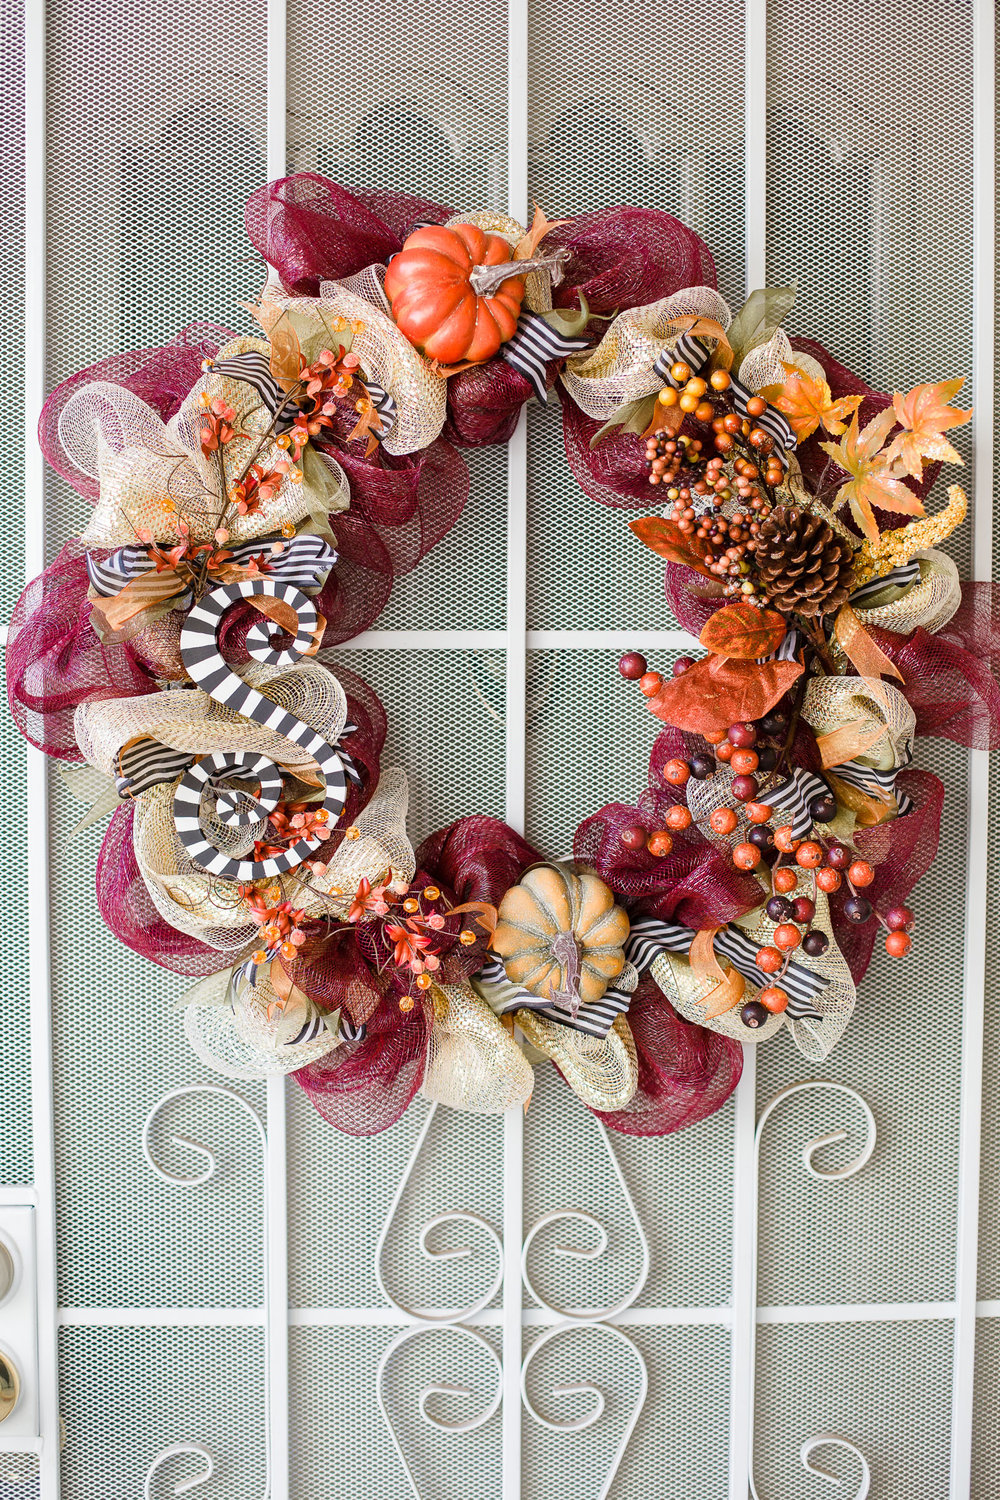
I absolutely love how it turned out and I was surprised by how simple it was to make. Plus it only took a couple hours. Although, it probably would have been quicker to make had I not photographed each step and had been so distracted with catching up with Lisa 😉 But honestly, crafting with a friend makes it even more fun! Thanks again to Lisa for helping me with my beautiful wreath!!
Thanks for letting me share this How-To with you!! I hope this inspires you to make your own holiday wreath! If you do, tag me on Instagram so I can see your beautiful creation!!
If you have any suggestions for my next Fall series post, leave me comment. I’ve been thinking of sharing another recipe with you all, so let me know if that sounds good to you 🙂
If you are getting married and planning a wedding, here are some other posts you might enjoy:
- Make The Most Of Your Wedding Day
- How To Organize Family Formals On Your Wedding Day
- Why To Hire A Wedding Planner
- How To De-Stress Before Your Wedding
- How To Choose A Wedding Photographer
If you need help with planning your engagement session or are wanting more information from a Sacramento, California, and Destination wedding photographer and want info on my photography services, click here.

Let’s be friends!
Hi! I’m Sarah! Destination Wedding Photographer and Disney lover. Follow along for more tips about wedding photography and getting the photos you’ve always dreamed of. And click here to get my Free Engagement Session Guide to get the most out of your Engagement Session.
If you are looking for a wedding photographer, I would love to chat! Click here to inquire about my services!
You can also find me on social media!
Let’s be friends on Instagram @sarahschweyerphotography
Follow me on Facebook
See what I’m pinning on Pinterest


